

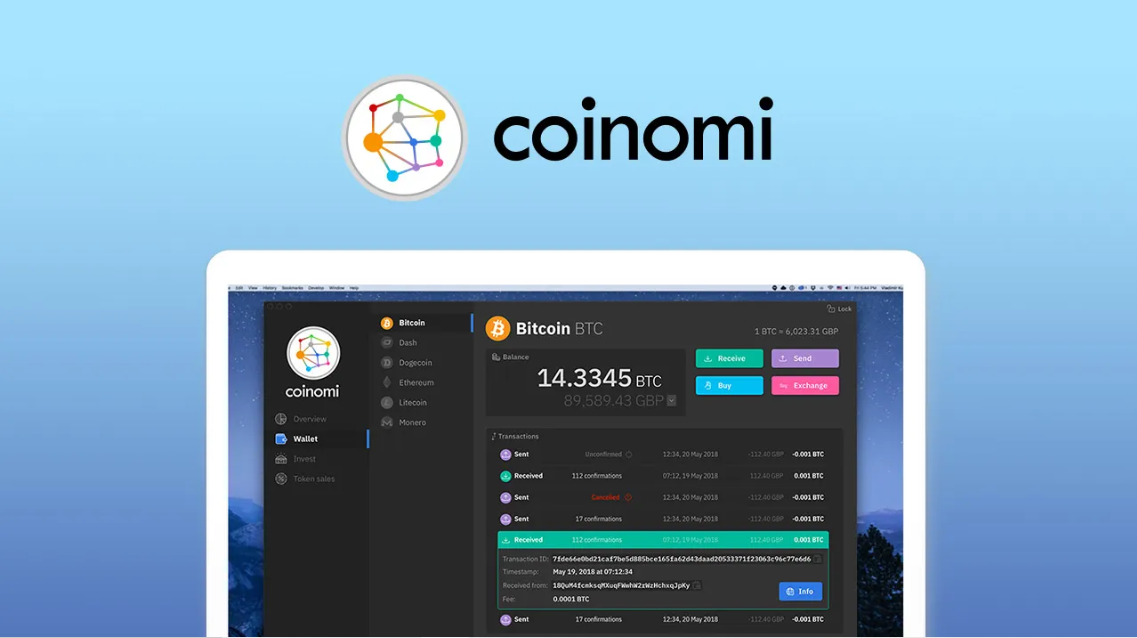
You’ve decided to take the plunge into the world of cryptocurrency with Coinomi, but where do you start? First, you’ll need to set up your wallet, creating a strong password and PIN code to secure it. You’ll also receive a recovery phrase – make sure to store it safely! But that’s just the beginning. You’re probably eager to start sending and receiving Bitcoin, and that’s exactly what we’ll cover next. From navigating the “Send” and “Receive” tabs to understanding transaction fees, you’ll soon be a Coinomi pro – but for now, let’s take it one step at a time.
Setting Up Your Coinomi Wallet
A Beginner’s Guide to Coinomi: How to Send and Receive Bitcoin
Setting Up Your Coinomi Wallet
To get started with Coinomi, download and install the wallet app from the official website or a trusted app store.
Once you’ve installed the app, you’ll be prompted to create a new wallet or restore an existing one. If you’re new to Coinomi, choose the “Create a new wallet” option.
You’ll be asked to set a strong password and create a PIN code for added security. Make sure to store your password and PIN code safely, as you’ll need them to access your wallet.
Next, you’ll be given a recovery phrase, which is essential for restoring your wallet in case you lose access to it.
Write down the phrase and store it in a safe place. Don’t share it with anyone, as it can be used to access your funds.
After setting up your wallet, you’ll see a dashboard with an overview of your accounts.
You can add new accounts, view your transaction history, and access other features from this dashboard.
Receiving Bitcoin With Coinomi
Your Coinomi wallet is now set up, and you’re ready to receive Bitcoin.
To receive Bitcoin, you’ll need to share your wallet’s receiving address with the sender. You can find this address by tapping on the “Receive” button at the bottom of your Coinomi wallet’s main screen.
This will display your Bitcoin address, which looks like a long string of letters and numbers. Tap on the “Copy” button to copy the address to your clipboard.
You can then share this address with the sender, either by sending it to them directly or by displaying it as a QR code. Make sure to only share your receiving address with trusted parties, as anyone with this address can send Bitcoin to your wallet.
Once the sender initiates the transaction, you’ll receive a notification from Coinomi when the Bitcoin is received. You can track the transaction’s progress on the blockchain by tapping on the “Transactions” tab in your wallet.
Sending Bitcoin With Coinomi
To send Bitcoin with Coinomi, navigate to the “Send” tab on the main screen of your wallet.
You’ll see a simple interface that makes it easy to transfer Bitcoin to another wallet. Enter the recipient’s Bitcoin address in the “Recipient” field. You can paste the address from your clipboard or scan a QR code.
Make sure to double-check the address, as transactions are irreversible.
Next, enter the amount of Bitcoin you want to send in the “Amount” field. You can choose to send a specific amount in Bitcoin or your local currency.
If you’re unsure about the amount, you can use the “Max” button to send your entire available balance.
Before confirming the transaction, review the details to ensure everything is correct. You’ll see the recipient’s address, the amount being sent, and the network fee (which we’ll cover in the next section).
If everything looks good, tap “Send” to initiate the transaction. Coinomi will then broadcast the transaction to the Bitcoin network, and the recipient will receive the funds once it’s confirmed.
Understanding Transaction Fees
When you’re sending Bitcoin with Coinomi, you’re likely wondering how those transaction fees work.
Transaction fees are a crucial aspect of the Bitcoin network, as they incentivize miners to validate transactions and secure the network.
In essence, you’re paying miners to prioritize your transaction over others.
Coinomi gives you the option to set your transaction fee manually or let the wallet suggest a suitable fee.
The suggested fee is based on the current network congestion and the priority you’ve chosen for your transaction.
If you’re in a hurry, you can opt for a higher fee to ensure your transaction is processed quickly.
On the other hand, if you’re not in a rush, you can choose a lower fee and wait a bit longer for your transaction to be confirmed.
Keep in mind that the fee you set is only a suggestion, and the actual fee might vary depending on the network conditions at the time of transaction confirmation.
Coinomi will always display the estimated fee before you confirm the transaction, so you’ll know exactly how much you’re paying.
Wallet Security Best Practices
Frequently, users underestimate the importance of securing their cryptocurrency wallets, which can lead to devastating consequences.
You’re not immune to these risks, so it’s crucial to take wallet security seriously.
First, choose a strong password and store it safely.
Avoid using the same password for multiple accounts, and never share it with anyone.
Next, enable two-factor authentication (2FA) to add an extra layer of protection.
This way, even if someone gets your password, they won’t be able to access your wallet without the 2FA code.
Keep your wallet software and operating system up-to-date, as newer versions often include security patches.
Be cautious when clicking on links or downloading attachments from unknown sources, as they may contain malware.
Also, use a reputable antivirus software to scan your device regularly.
Conclusion
You’ve taken the first steps in mastering coinomi ! You’ve set up your wallet, learned how to receive and send Bitcoin, and grasped transaction fees. Now, it’s crucial to prioritize wallet security. Remember to store your recovery phrase safely, use strong passwords and PINs, and keep your wallet up-to-date. By following these best practices, you’ll be well on your way to a secure and successful Bitcoin journey.

Leave a Reply